I made this post for my parents, who finally wanted to set up two-factor authentication for their Google accounts.
It’s a picture heavy walkthrough of setting up two-factor authentication on Google, backing up the code, and generating recovery codes.
Quick overview of the process:
- Go to your Google account
- Go to the Sign-in & Security settings
- Configure a recovery email address
- Configure a recovery phone number
- Go to the 2-Step Verification settings
- Configure 2-Step Verification by phone (temporary only)
- Go to the 2-Step Verification alternative methods
- Configure 2-Step Verification by Authenticator app
- Generate backup codes
- Profit
Detailed walkthrough:
-
Go to your Google account
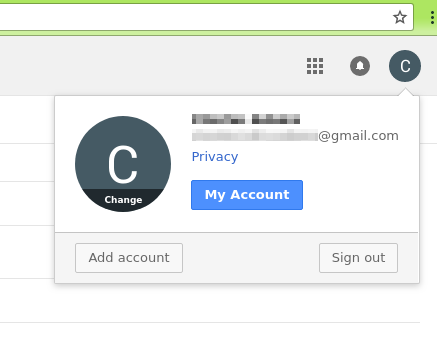
This can be by whatever means is most convenient, for many that could be via the account badge in top right bar of Gmail, as shown in the screenshot below:
-
Go to the Sign-in & Security settings
Once in Google account page, navigate to the “Sign-in & security” settings page by clicking on the heading, as shown in the screenshot below:
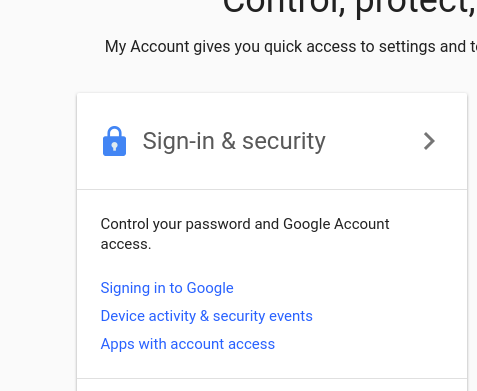
Then scroll down and you will see the “Sign-in & security” settings overview, as shown in the screenshot below:

-
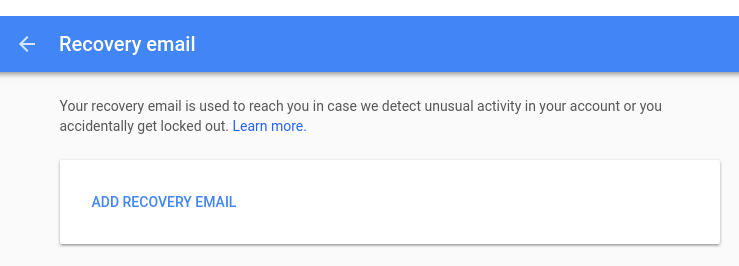
Configure a recovery email address
Setup a recovery email address for your account, by clicking on the “Recovery email” heading from the “Sign-in & security” settings overview page, you will then be presented with a prompt like the screenshot below:
-
Configure a recovery phone
Setup a recovery phone number for your account, by clicking on the “Recovery phone” heading from the “Sign-in & security” settings overview page, you will then be presented with a prompt like the screenshot below:

-
Go to the 2-Step Verification settings
To configure 2-Step Verification click on the “2-Step Verification” heading, as shown in the screenshot below:
-
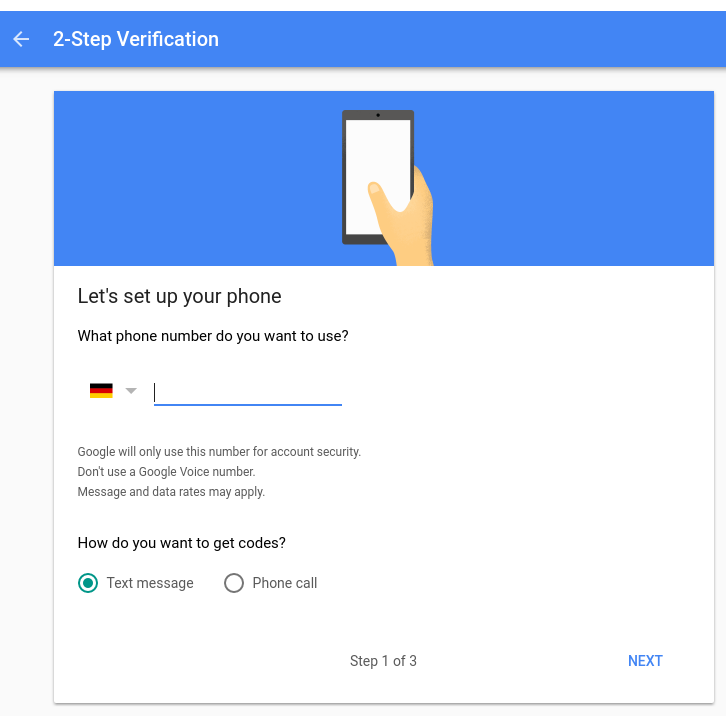
Configure 2-Step Verification by phone (temporary only)
To enable 2-Step Verification you first have to enable the phone method, which will use SMS or Voice (computer) calls to send you a secret confirmation code. After you set up and confirm this method, you’ll be able to configure alternate methods, such as Authenticator which uses TOTP (time based one time password).
To begin the process, select your country, and enter you phone number at the prompt, as shown in the screenshot below:
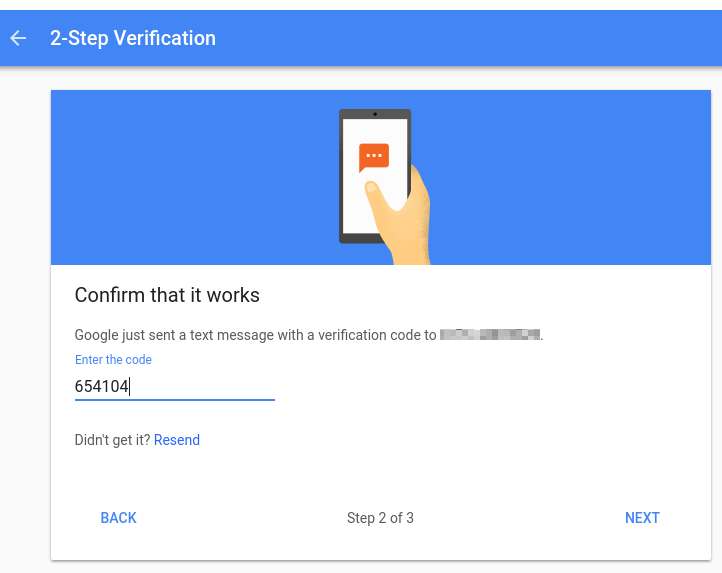
Then enter the verification code you received via SMS at the prompt, as shown in the screenshot below:
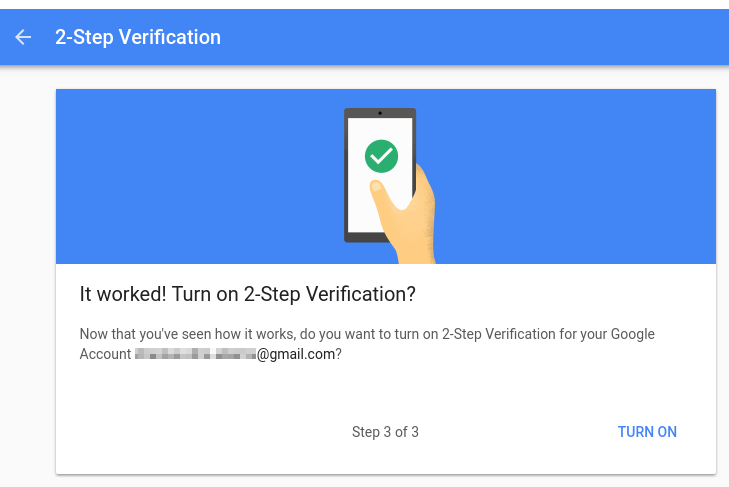
If verification succeeded, then click “Turn on” to finish the process, as shown in the screenshot below:
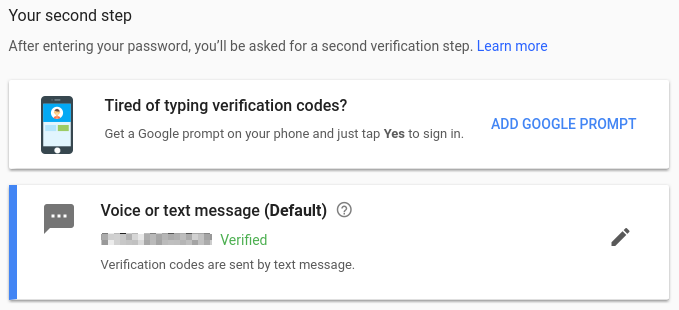
If everything went correctly, then you’ll now see the “Voice or text message (Default)” entry on the “2-Step Verification” overview page, as shown in the screenshot below:
-
Go to the 2-Step Verification alternative methods
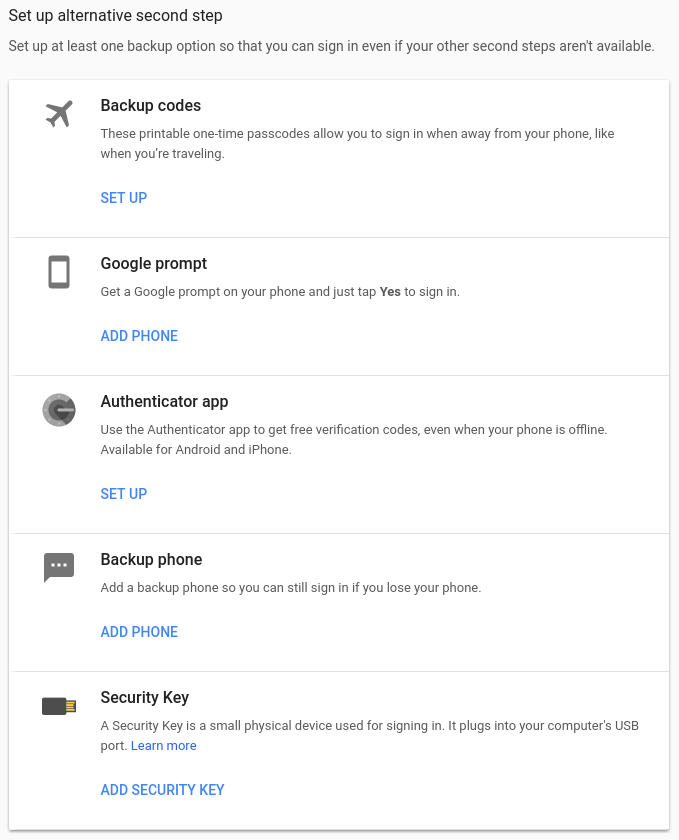
With 2-Step Verification configured for SMS, you can now configure alternative methods, like Authenticator.
To configure Authenticator (which will replace/override SMS), click on the Authenticator heading, as shown in the screenshot below:
-
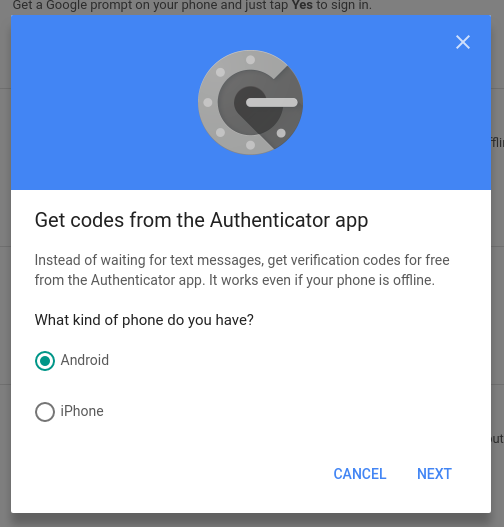
Configure 2-Step Verification by Authenticator app
Select the appropriate platform for your phone, and click next, as shown in the screenshot below:
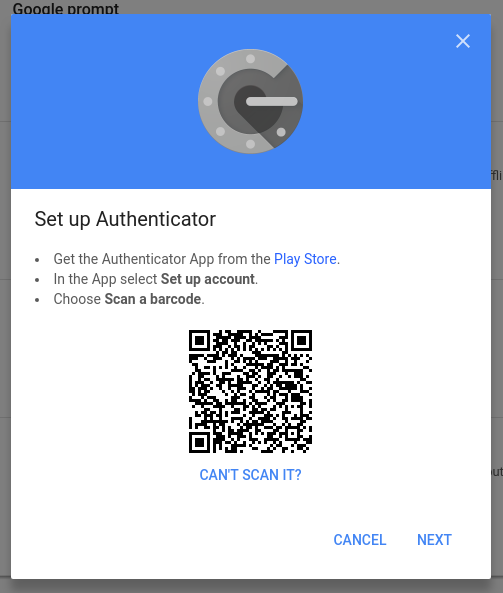
If you don’t already have the Authenticator application installed (or a suitable equivalent), then go do that now, so you can proceed by scanning the QR code, as shown in the screenshot below:
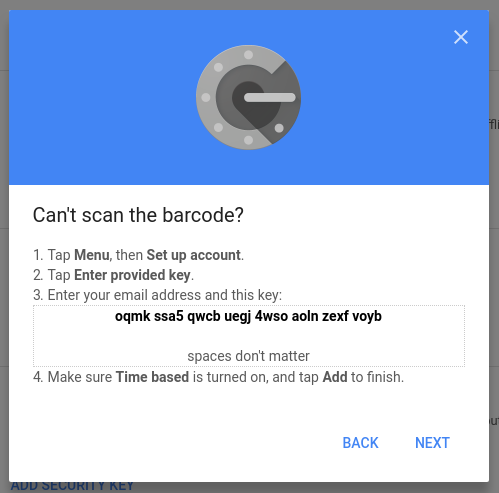
Now assuming you successfully scanned the QR code, don’t click next. Instead click on “Can’t scan it” to reveal the secret as a text string, this allows us to backup the secret somewhere securely, in case we want to change phones later (easily). So copy the secret down somewhere safe, and now click next, as shown in the screenshot below:
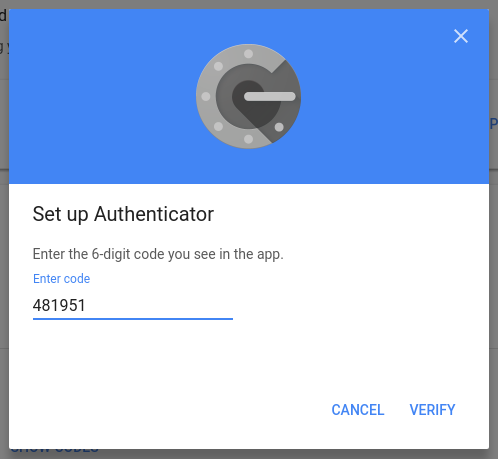
Using the authenticator or equivalent app you installed before, lookup the token/code for your Google account, and enter it into the confirmation prompt, as shown in the screenshot below:
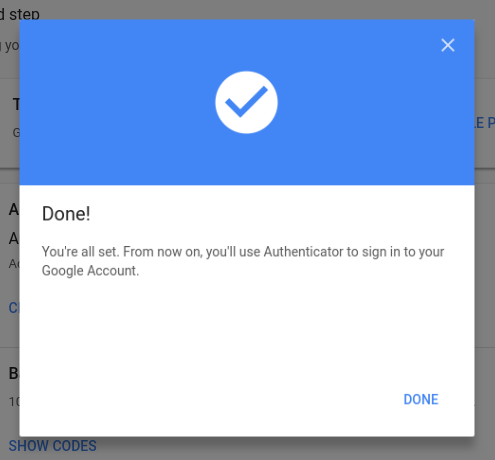
If everything went well you will see a confirmation screen which means you’re almost done, as shown in the screenshot below:
-
Generate backup codes
Now that you have 2-Step Verification enabled, it’s always good practice to have some backup codes available. This is handy if you loose your phone, and suddenly can’t use the Authenticator, nor are you able to receive the SMS codes as a fallback. So this is when backup codes can really come in handy. To generate backup codes, simply click on “Set up” under the “Backup codes” entry on the 2-Step Verification alternative methods page, as shown in the screenshot below:
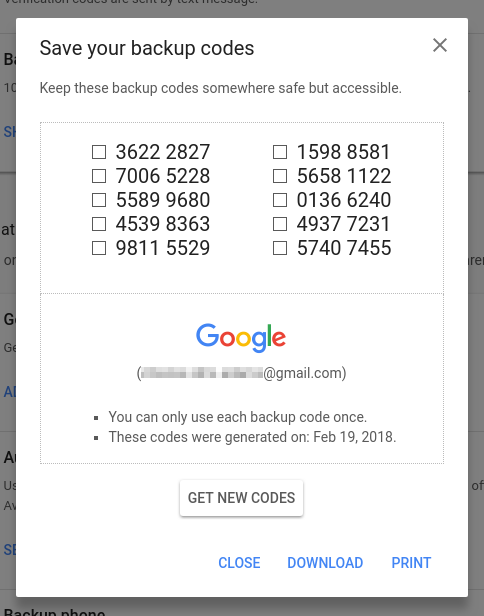
You will then be presented with a prompt like the one below, containing your 10 backup codes. Copy these down somewhere safe and secure, a secure password safe program is an ideal candidate. Also you may want to try the download option to get these codes in basic ASCII format, without any HTML glyphs.
-
Profit
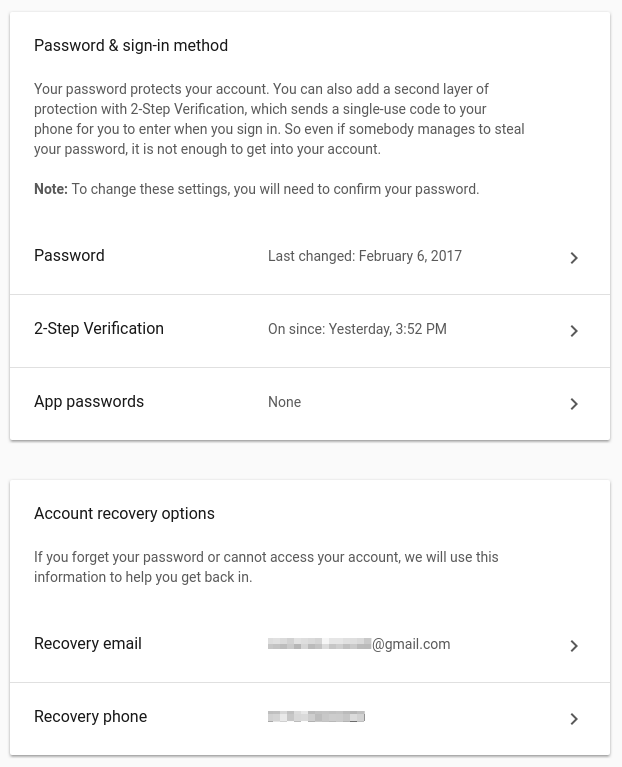
If you’ve made it this far then you’re now all set up, your “Sign-in & security” settings overview should now look something like the screenshot below:
Remember to keep the secret code and backup codes safe. You now have a very strongly secured Google account, so you can worry less about someone guessing your password, instead you now need to make sure your computer, phone, and password safe are never compromised :)